

Mastering the Art of Custom Canopy Setup: A Step-by-Step Guide
Setting up a custom canopy doesn’t have to drain your time or energy. With Colorado Canopies’ easy canopy setup, you can create eye-catching event displays that draw crowds without the usual hassle. This step-by-step guide breaks down the process, so you’ll feel confident building a trade show tent that truly reflects your brand. Let’s get started on making your next event stand out. For more detailed instructions, check out this guide on setting up a canopy tent.
Choosing the Right Canopy
Selecting the ideal canopy is the first step to ensure your event’s success. It all starts with understanding your needs and finding a design that fits your brand.
Understanding Your Event Needs
Every event has unique demands. Begin by identifying the purpose. Is it a trade show, festival, or outdoor market? Knowing this helps you choose features that suit your audience and environment. For instance, if you’re planning an outdoor festival, durability and weather resistance are key. On the other hand, a trade show might require an eye-catching design to stand out among competitors. Assess the expected attendance to ensure your canopy accommodates it comfortably. This way, you not only cater to your guests but also enhance their overall experience.
Selecting the Perfect Size and Design
Once you’ve defined the event’s needs, it’s time to decide on the size and design. A compact 10×10 canopy might be perfect for smaller spaces, while a larger 20×20 could better suit vast areas. Think about your branding too. A canopy isn’t just shelter—it’s a canvas. Add your logos, vibrant colors, and unique designs to capture attention. For inspiration, consider browsing resources on canopy designs to discover how other brands have successfully made their mark at events.
Step-by-Step Canopy Setup

After choosing your ideal canopy, the next step is setting it up efficiently. This process is straightforward with the right preparation and tools.
Preparing Your Site and Equipment
Before setting up, it’s crucial to prepare your site and gather necessary equipment. Start by clearing the area of any debris or obstacles where your canopy will stand. Ensure the ground is level to prevent instability. Having the right tools on hand, like stakes and mallets, makes the setup smoother. Lay out all parts of the canopy, checking for completeness. This preparation saves time and avoids the frustration of missing components during assembly.
Assembling the Canopy Frame
Now, let’s get hands-on. Setting up the frame is often the most challenging step, but with our guidance, it becomes manageable. Begin with the frame’s base, spreading it out on your prepared site. Ensure all connectors are secured tightly. An extra pair of hands can be beneficial here. Most canopies use a pop-up mechanism, simplifying the process. Raise the frame slowly, making sure each side rises evenly. For further assistance, consider watching video guides on assembling canopy frames.
Securing and Finalizing the Setup
Once the frame stands, it’s time to secure and finalize your setup. Attach the canopy cover, ensuring it is taut and free of wrinkles. Secure it using Velcro or ties provided. Use stakes and weighted bags on each leg, especially in windy conditions. These measures ensure your canopy stays upright and steady. Double-check all connections and make adjustments as needed. This step ensures safety and enhances the durability of your setup. To learn more about securing tents, refer to this tent setup blog.
Enhancing Your Branding Solutions
Setting up your canopy is just the beginning. Customizing and accessorizing can amplify your brand’s impact, making your setup truly unforgettable.
Customizing Graphics and Visuals
Graphics and visuals are key to making your canopy stand out. With Colorado Canopies, you can customize graphics that reflect your brand’s identity. Incorporate your logo, vibrant colors, and catchy slogans. Use large, readable fonts for any text. This not only attracts attention but also conveys professionalism. Consider using illustrations or images that resonate with your target audience. These elements create a memorable presence, enhancing your brand’s visibility and engagement.
Leveraging Additional Accessories for Impact
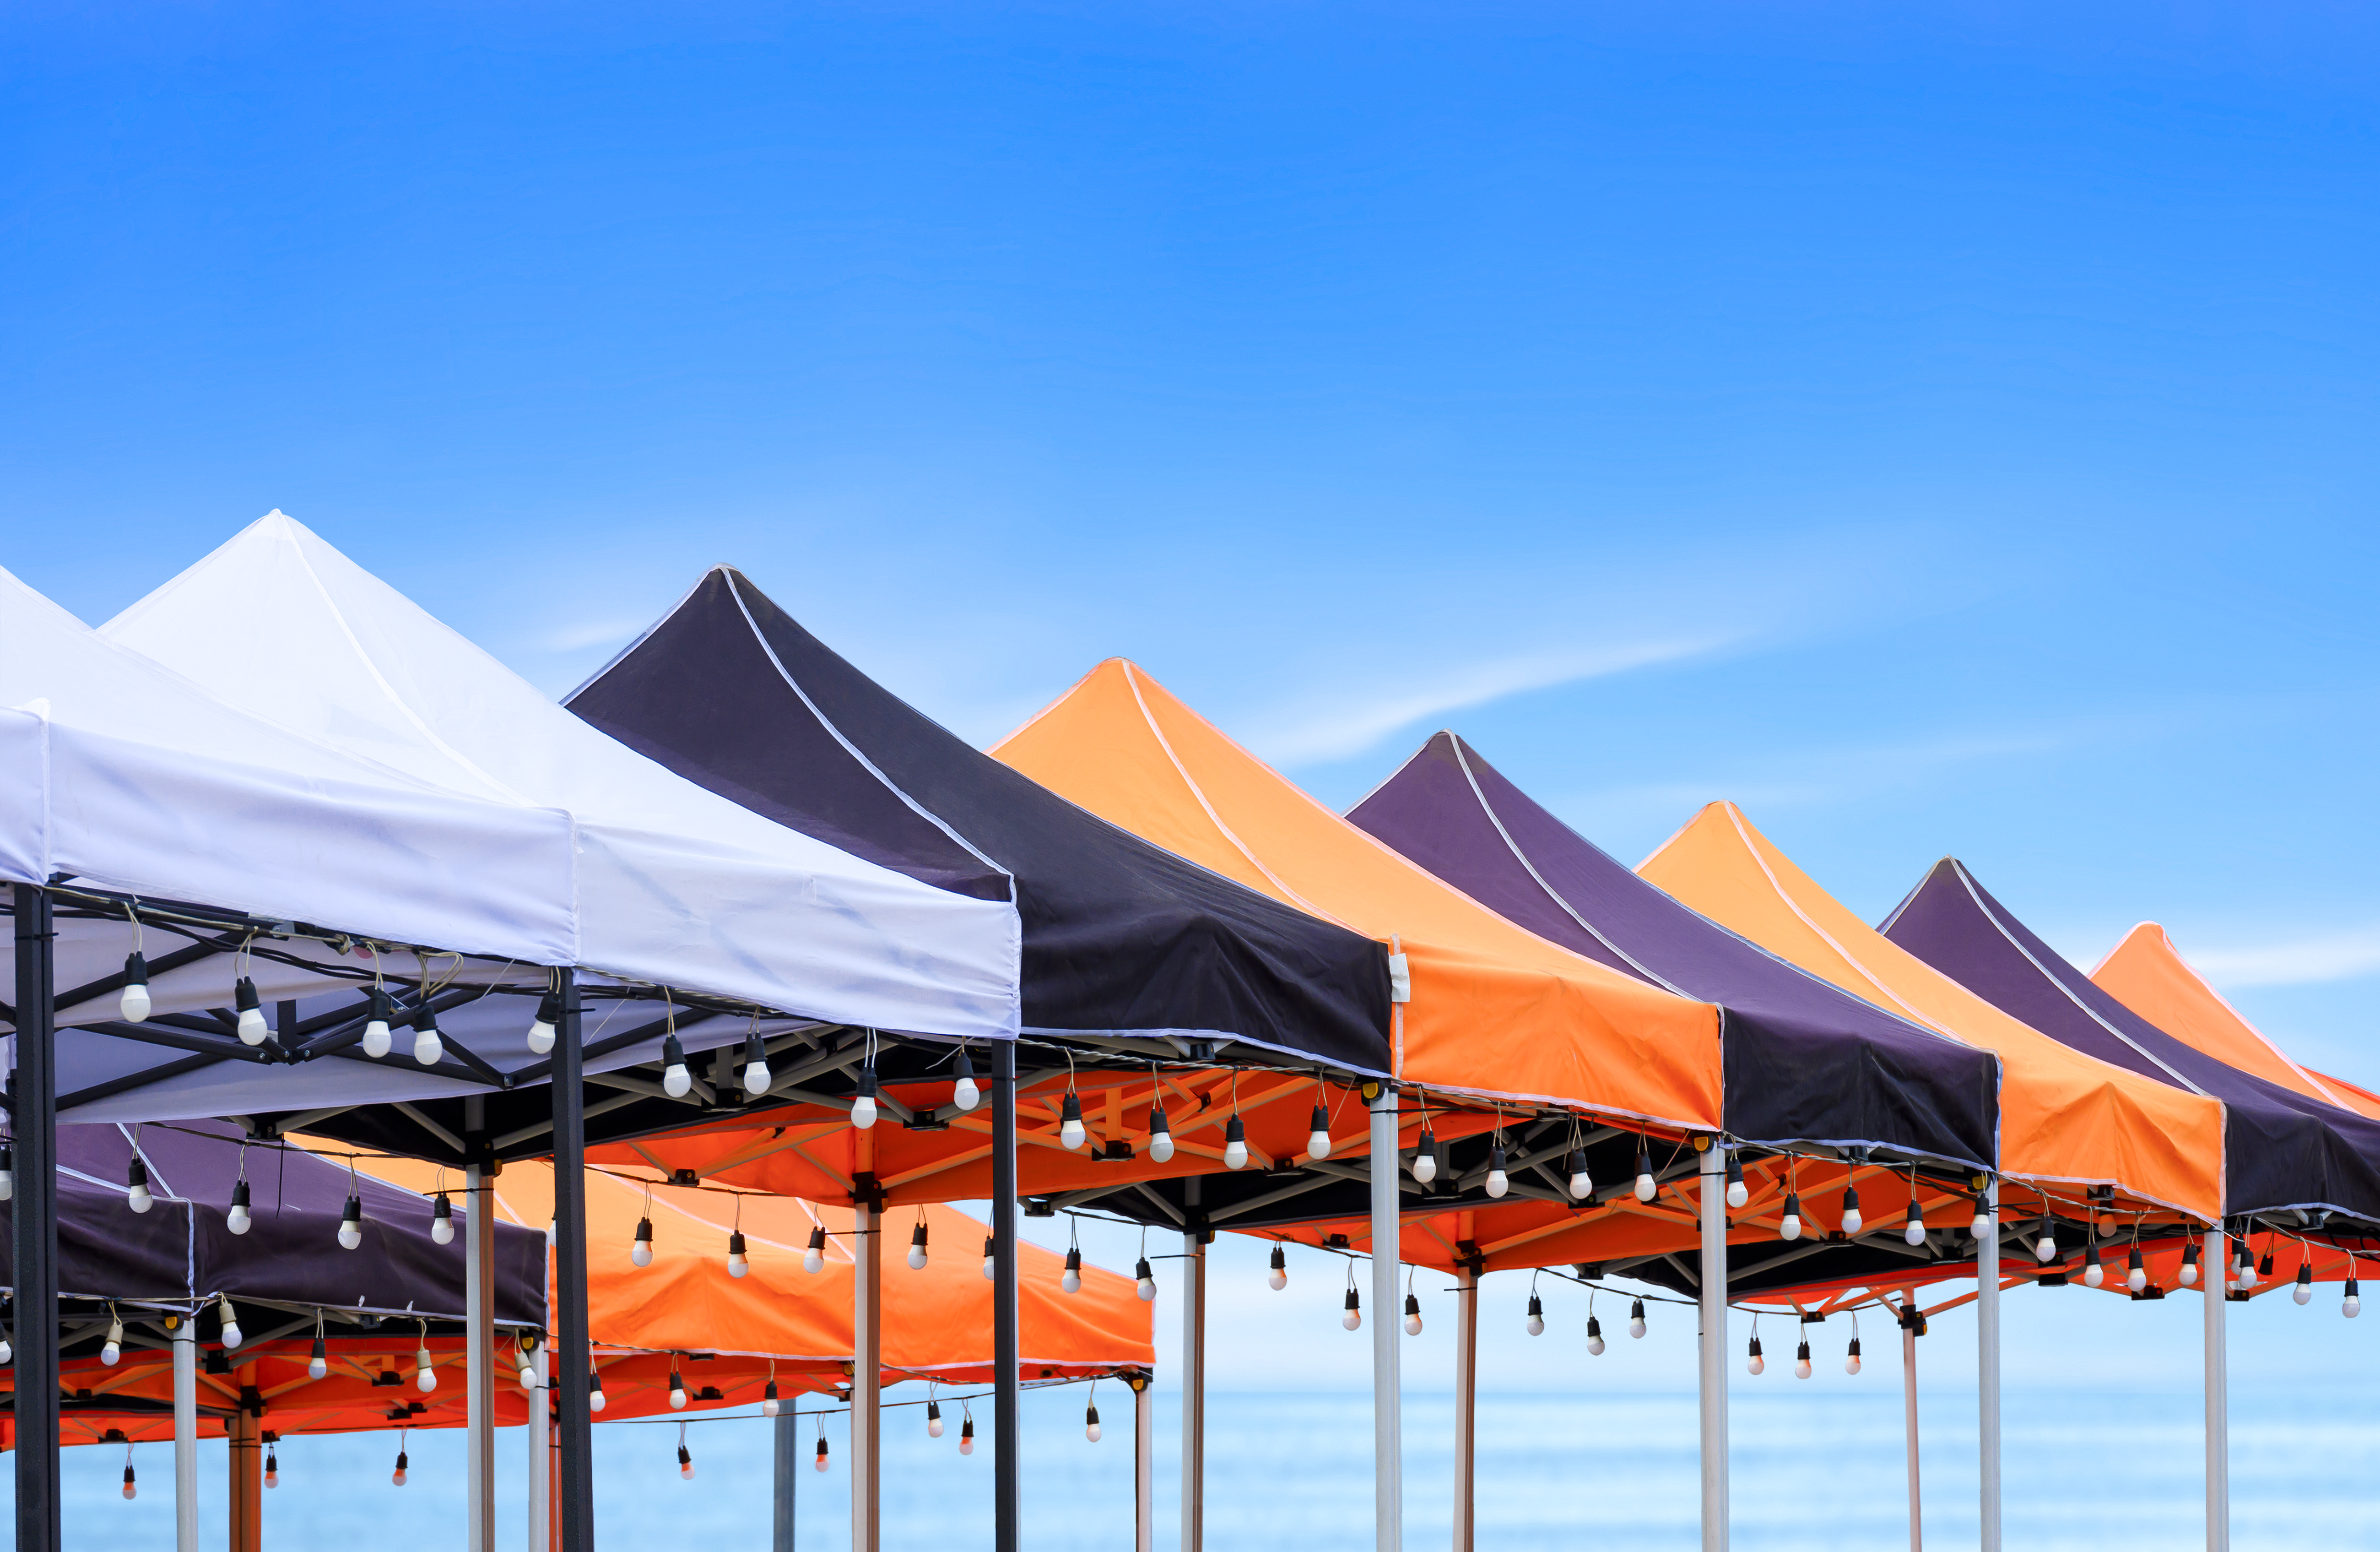
Accessories can transform a simple canopy into an interactive and engaging space. Think about adding banners, tables, and chairs that match your design scheme. Lighting can also play a crucial role, especially for evening events. LED lights are not only energy-efficient but also highlight your displays effectively. Additionally, interactive elements such as digital screens can showcase videos or presentations, providing a dynamic edge. By thoughtfully selecting accessories, you can create an immersive experience that captures and holds your audience’s attention.
🎪✨
In conclusion, setting up your custom canopy with Colorado Canopies is a straightforward process that promises to elevate your event’s appeal. From choosing the right design to enhancing your brand’s visibility through graphics and accessories, every step is crafted to ensure your success. Remember, the longer you wait to invest in a quality setup, the more opportunities you miss to stand out. Start planning your next event today and watch your brand shine!